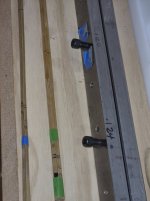
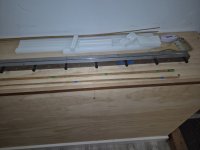
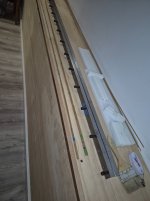
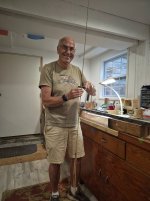
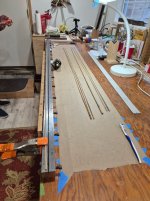
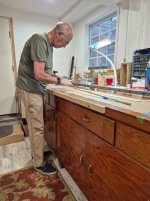
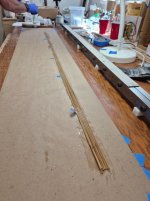
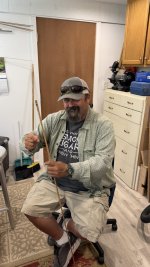
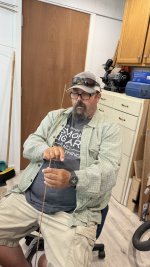
Milestone indeed!!!!!!! A big congratulations to Bill for all his work on the raw split strips to the tapered strips now bundled that will create his own hand made bamboo fly rod. Bill has absorbed a lot of information and his skills with the planes and scrapers has really blossomed. Really fun to see the light come on in the closet when I see Bill become aware of something that I was going to point out and make the correction that I would have suggested. Very rewarding to see that the skills involved are being learned and if Bill decides he could make another bamboo fly rod on his own without the steep learning curve that I faced for my first rod making effort. GREAT DAY TODAY!!!! Way to go Bill!!!!!!!!
I've really learned so much! The planing was very informative and Mike and talked about the whole process to date and the next steps.
Some key things that I've learned or come to realize are things like:
- Preparation in the early steps really makes each further step easier. Mike has picked these things up over 20 years of building rods and paying attention to and learning from his detailed approach to each step. Heat treatment and working on the nodes early in the process make each next step easier and faster.
- This is a marathon, not a sprint! For me focusing on each step and learning it, and then working it together has taught me a ton!
- You don't need the most expensive tools, and you need much less to make a rod than you think! Mike has made and improved his tools as he progressed building rod after rod! i.e. - I don't NEED a Bellinger planing from to start or maybe not at all! At this point I don't know how many rods I'll build, definitely a few or more after this one and I can accumulate/build the required tools as I go along!
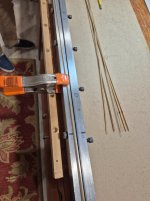
- Setting up the planing form is a slow and gradual process, lots of measuring of each piece, adjustments to the planing form, tweaking high spots and slowing down to make everything is coming to spec!
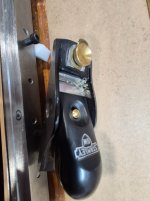
- Having the right tools and knowing how to use them. Learning how to sharpen and measure the blades in the planes, scrapers and adjusting everything as you go. It has been amazing how many times Mike showed me how many little adjustments we accomplished! Well he did in most cases, but I was really paying attention to the little details and filing it away. Lots of problem solving, things came up that he hadn't seen...
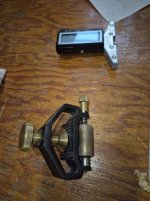
- The Baginski Beveler (Mike makes the wheels for it and you put it together yourself) - Here's a like to a very interesting thread on the Classic Fly Rod Forum site:
- Heat treatment for all of the pieces and on the nodes really makes the planing easier and more efficient! See some of the earlier posts in this thread for more info!
Our next steps are to prepare the strips for gluing by knocking of the point of the pith of the triangle where the two non enamel sides of the strip meet. Then the gluing with happen, I'll be watching a lot and helping where I can. The glue will be applied to strips, aligned and then bundled together to form each piece.
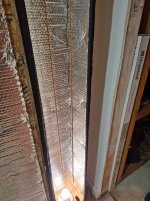
Once the sections are all aligned, nodes are staggered and then bundled together they'll be hung in a hot box (about 85 degrees for the temperature) and then let dry overnight or until they're ready I assume.
After that, I sand each section, on the flat sides of the six pieces, and will be able to bring the work over to my place to work on it! After that we'll move to the finish on the blank, the ferrules and reel seat (both of which Mike hand produces on this lathe)! Cork and reel seat and then I'll place the guides and wrap them and varnish (as many coats as required) before the rod is ready to fish! I've done the later for years, and even built rods commercially for a year!
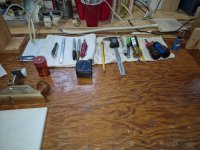
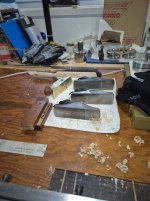
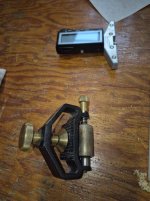
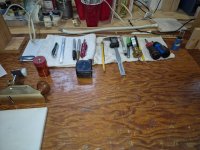
These pictures, posted before too, show the tools used while planing:
I'm sure I've missed many things, but thought I would write it out as a reference for myself and anyone interested! Cheers! More to come!