YOLO! - FlyBillz' First Bamboo Build

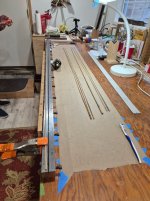
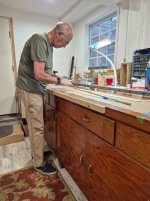
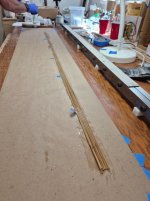
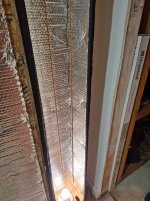
The tip strips come to taper much faster than the base strips, AND they can go south on you just as fast LOL. Luckily things are going well for Bill. We are nearly set with the first of the three strips for the tip section. Like the base section we will have two sets of three strips with matching node placements. We are making the rod in a three by three node arrangement as stated before. Here is a quick shot of Bill bringing a strip into taper.

Mike

 
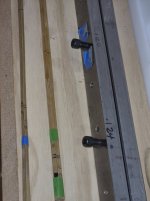
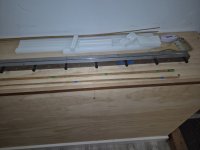
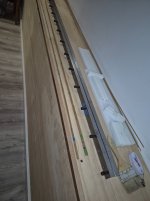
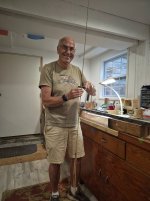
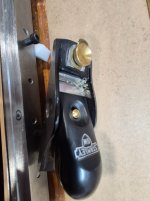
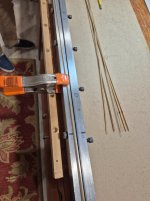
Planing again today! Got the tip strip pieces done and bundled up! Next will come the gluing up the pieces and then sanding to follow once they dry! Feels great to see it coming together! Still lots to do, but a milestone and the learning process has been amazing!20260513_134100.jpg20260513_134145.jpg20260513_134053.jpg20260513_133458.jpg20260513_112817.jpg20260513_112808.jpg
 
Milestone indeed!!!!!!! A big congratulations to Bill for all his work on the raw split strips to the tapered strips now bundled that will create his own hand made bamboo fly rod. Bill has absorbed a lot of information and his skills with the planes and scrapers has really blossomed. Really fun to see the light come on in the closet when I see Bill become aware of something that I was going to point out and make the correction that I would have suggested. Very rewarding to see that the skills involved are being learned and if Bill decides he could make another bamboo fly rod on his own without the steep learning curve that I faced for my first rod making effort. GREAT DAY TODAY!!!! Way to go Bill!!!!!!!!
 
Milestone indeed!!!!!!! A big congratulations to Bill for all his work on the raw split strips to the tapered strips now bundled that will create his own hand made bamboo fly rod. Bill has absorbed a lot of information and his skills with the planes and scrapers has really blossomed. Really fun to see the light come on in the closet when I see Bill become aware of something that I was going to point out and make the correction that I would have suggested. Very rewarding to see that the skills involved are being learned and if Bill decides he could make another bamboo fly rod on his own without the steep learning curve that I faced for my first rod making effort. GREAT DAY TODAY!!!! Way to go Bill!!!!!!!!
I've really learned so much! The planing was very informative and Mike and talked about the whole process to date and the next steps.

Some key things that I've learned or come to realize are things like:
  • Preparation in the early steps really makes each further step easier. Mike has picked these things up over 20 years of building rods and paying attention to and learning from his detailed approach to each step. Heat treatment and working on the nodes early in the process make each next step easier and faster.
  • This is a marathon, not a sprint! For me focusing on each step and learning it, and then working it together has taught me a ton!
  • You don't need the most expensive tools, and you need much less to make a rod than you think! Mike has made and improved his tools as he progressed building rod after rod! i.e. - I don't NEED a Bellinger planing from to start or maybe not at all! At this point I don't know how many rods I'll build, definitely a few or more after this one and I can accumulate/build the required tools as I go along!
  • Setting up the planing form is a slow and gradual process, lots of measuring of each piece, adjustments to the planing form, tweaking high spots and slowing down to make everything is coming to spec!
  • Having the right tools and knowing how to use them. Learning how to sharpen and measure the blades in the planes, scrapers and adjusting everything as you go. It has been amazing how many times Mike showed me how many little adjustments we accomplished! Well he did in most cases, but I was really paying attention to the little details and filing it away. Lots of problem solving, things came up that he hadn't seen...
  • The Baginski Beveler (Mike makes the wheels for it and you put it together yourself) - Here's a like to a very interesting thread on the Classic Fly Rod Forum site:
  • Heat treatment for all of the pieces and on the nodes really makes the planing easier and more efficient! See some of the earlier posts in this thread for more info!
Our next steps are to prepare the strips for gluing by knocking of the point of the pith of the triangle where the two non enamel sides of the strip meet. Then the gluing with happen, I'll be watching a lot and helping where I can. The glue will be applied to strips, aligned and then bundled together to form each piece.

Once the sections are all aligned, nodes are staggered and then bundled together they'll be hung in a hot box (about 85 degrees for the temperature) and then let dry overnight or until they're ready I assume.

After that, I sand each section, on the flat sides of the six pieces, and will be able to bring the work over to my place to work on it! After that we'll move to the finish on the blank, the ferrules and reel seat (both of which Mike hand produces on this lathe)! Cork and reel seat and then I'll place the guides and wrap them and varnish (as many coats as required) before the rod is ready to fish! I've done the later for years, and even built rods commercially for a year!

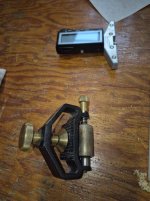
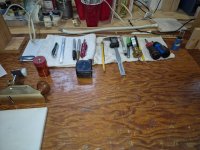
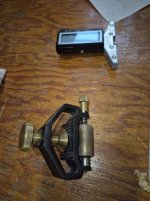
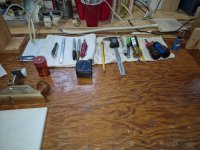
These pictures, posted before too, show the tools used while planing:
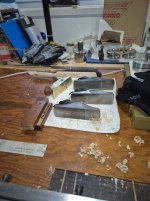
20260507_132645.jpg20260513_112817.jpg20260513_112808.jpg

I'm sure I've missed many things, but thought I would write it out as a reference for myself and anyone interested! Cheers! More to come!

 
Last edited:
Well I had high hopes to see Bill's rod bound up and glued in the drying cabinet today. However................... Things didn't work out as expected. Bill arrived and I explained the set up for the glue up today. Bench was cleaned and all the materials needed were ready to go (so I thought). First thing Bill needed to do was to plane off about .003" from the inside apex of all 12 strips. This will keep a bit of space where all the pieces meet like the center of a cut pizza. Here is a little video of Bill doing the final stroke on each strip.


Next we arranged the strips in the proper placement for the 3X3 node placement. Taped up the two bundles in preparation for the glue up. We then opened up the bundle to clean any debris out before coating the strips with the Unibond 800. Now was the time to mix up the glue and catalyst to prepare the glue. I opened the can and...............................................Yikes!!!!!!! it was gelled up on me! Holy crap, I couldn't believe it! I had opened the can a few days ago and the glue looked fine, but I didn't poke it to check the viscosity, big mistake. I felt terrible to bring Bill to this point and not be able to actually do the glue up. Called Dennis Worley on the off chance that he might use the same glue as me, but he has a different approach. Not wanting to chance a mishap with all Bill's work trying out something new. So long story short I ordered up a new supply from Nelson Paint coming out of Michigan UPS. We will have to wait a week or more to finish the glue up process.

Mike
 
A few pictures from today! Got it ready to glue and also talked about wrapping and finishing once we get to that point! We'll get the gluing done at our next meeting! Always learning from Mike!! Cheers and happy Friday!
20260515_101226.jpg20260515_101238.jpg20260515_101938.jpg20260515_104005.jpg
 
Last edited:
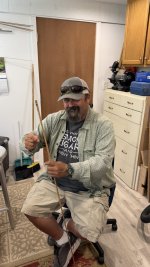
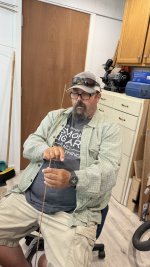
We are back at the shop again now. After a brief break waiting for a fresh supply of Unibond 800 progress continues. Bill showed up and we opened up the bundles of strips and did a final sweep to insure nothing would interfere with the joints at the apexes. The mixing the Unibond resin 100gr, water 10gr and Ammonium Chloride 1gr to activate the glue (we don't use the provided walnut flour activator mix that is provided for general wood working). We have about 1 hour of working time to get the strips coated and bound in string. After binding the shafts (like when we did the heat treating) they are hung in my drying cabinet at about 85 degrees overnight. The glue sets up hard and soon Bill will be removing the binding string and starting to sand off all the "flats" in preparation for the dozen finishing coats of Tru-Oil. The sanding will be a progression from about 220, to 320, to 400 to 600grits to guarantee a smooth surface for the finish coats. At this point Bill will be able to work on his rod at home with occasional visits when I will demonstrate the Tru-Oil finish work, add the ferrule set, grip and reel seat components

Mike
 
Last edited:
The big day was today, removal of the binding string after the glue up. I have to say that Bills rod shafts came out really nice. Very minimum twist or bend in them after the string came off. I’d be proud of that result. Bill has a sanding assignment now before we meet up again but things are looking real nice for a VERY special rod that Bill can say, who made this rod? “Well I did!”IMG_7429.jpegIMG_7430.jpeg
 
Back
Top