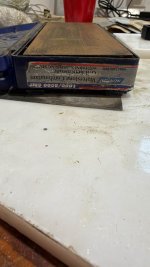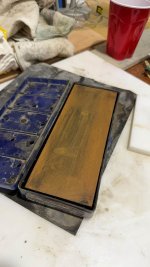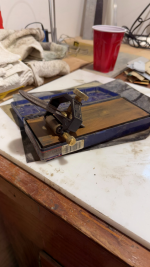

Why Make a nodeless bamboo flyrod?
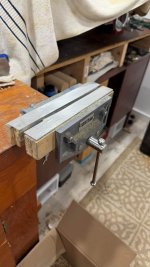
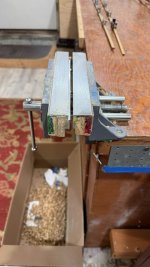
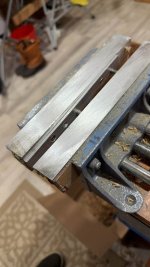
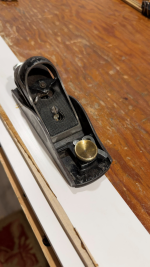
For me it was time to try something different. After making 30 conventional bamboo fly rods I decided to try making a nodeless fly rod. While doing this I also wanted to make a rod without all the power tools and equipment that I have collected or built over the last 15 years. I also wanted to see what tools the absolute minimum are I feel you need to make a bamboo fly rod.
First thing you need is a culm of bamboo. Cost today is about $60 if you need one shipped to you.
To start off you will want to have a hand saw to cut out each of the nodes in you culm. You will cut one inch on each side of the node. As you cut out the nodes you will mark each “tubes” bottom and relative position in the culm. You want to use the lower half of the culm for your base and the upper half for the tip section. The reason you do this is that the power fibers layer in the lower section are thicker to support the tall height of the bamboo plant.
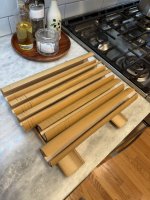
Now you will have about eight tube sections ready for heat treating. To accomplish this you can use the kitchen range’s oven. Place the tubes on a baking sheet and bake them at 350 degrees for 18 minutes. Heat treating is completed at this point.
Next up is splitting the tubes into sticks that you will use for your splices to create a long strip to make your rod with. The strips will be split to a width of just over ¼” (.300”). I measure and mark the upper end of the tube and use a wire cutter to start the split. The stick will nearly split all the way down the tube a quick twist of a pocketknife in the split will complete the separation. Once the entire tube is split, I bundle all these sticks together and set them aside. The same process is then done for each of the bamboo tubes.
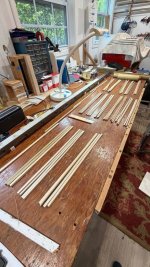
Here is an image of how I mark and identify the relative location of each tube’s bundle of strips. This group is marked one through five by the stripes, one being the lowest of the culms and five being the uppermost of that group. Remember the lower and upper halves of the culm stick bundles are two separate groups at this time.
Next we will organize the strips in order into six groups that will each become one long strip to make the bamboo fly rod section.
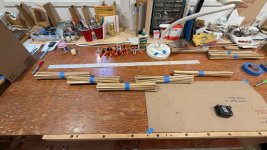
You can see on the left my planning form and four sticks lined up with overlap to allow for the splice from the bundle collections to the right. You will need to have enough sticks in the line to exceed your rod section length by about 8-10”. If by chance you don’t have enough sticks to complete the line, you can add one more from the top bundle to end up with two from the top bundle in that strip. The same goes for the sticks in the base section.
So at this point we have used a bamboo culm, hand saw, wire cutter pliers, pocket knife and a kitchen oven. Pretty cheap and minimal tools at this point.
Attachments
Last edited: