To be clear this isn't for a raft with a rowing frame. It's an aluminum boat with a 40/30 jet on the back. I need something that attaches to the gunnels and will hold the oars securely at speed.Just use these https://www.nrs.com/nrs-1-loop-straps/pkvc
Don’t need the fancy rings. I also use loop straps for my oar keepers on the oars in my hands. Easiest method to keep them attached when you want them attached and unattended when you don’t.
You are using an out of date browser. It may not display this or other websites correctly.
You should upgrade or use an alternative browser.
You should upgrade or use an alternative browser.
What have you done for your boat lately?
- Thread starter _WW_
- Start date
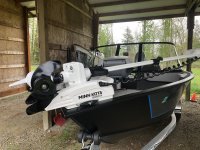
Hooking up batteries for the new Minn Kota that should be here tommorrow.
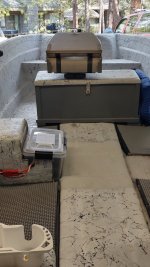
The box is from Joanne's craft store, has a watertight gasket.
I use OMT snap connectors for the cables to the motor, and will install one on the MK when it arrives. End of day, I just unsnap the motor, and snap on a harness I made for the charger. Batteries charged, unsnap charger, snap on motor. Batteries don't get touched for the season. Makes charging a breeze.
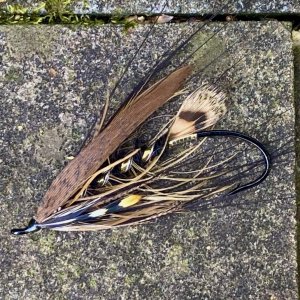
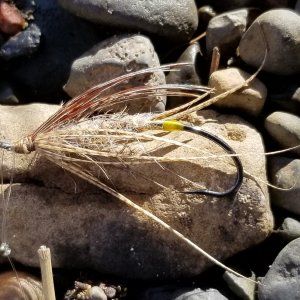
Crane Prairie lake and launch should be good to within the week, looking forward to that first indicator down.
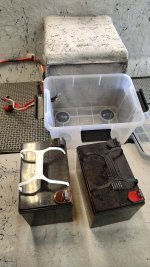
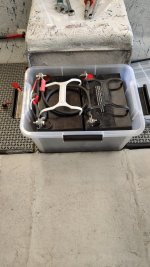
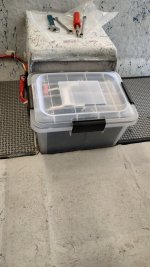
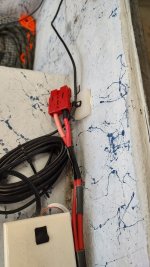


How’d you seal the hole where the cables enter the box? I’d like to make something similar, albeit smaller for my batter for my garmin on my commander?Hooking up batteries for the new Minn Kota that should be here tommorrow.
The box is from Joanne's craft store, has a watertight gasket.
I use OMT snap connectors for the cables to the motor, and will install one on the MK when it arrives. End of day, I just unsnap the motor, and snap on a harness I made for the charger. Batteries charged, unsnap charger, snap on motor. Batteries don't get touched for the season. Makes charging a breeze.
Crane Prairie lake and launch should be good to within the week, looking forward to that first indicator down.
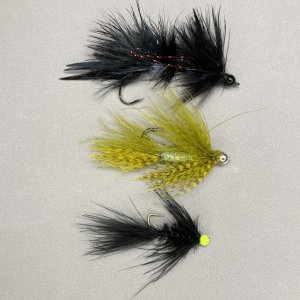
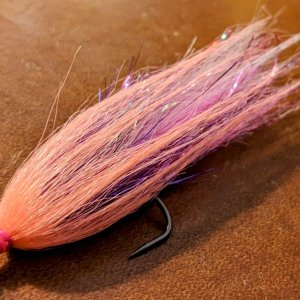
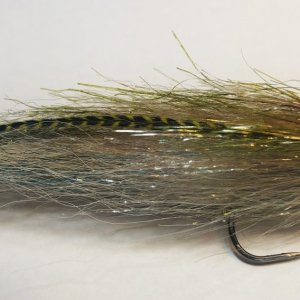
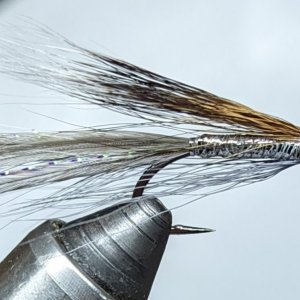
View attachment 63567View attachment 63568View attachment 63569View attachment 63570
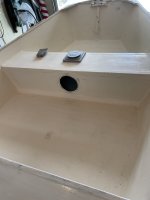
drilled a 'barely big enough' hole, then shoot it with some clear silicone caulking..sealed, easy to remove, drilled a couple of small holes in the bottom just in case. When I cut out the center bench to make the micro-skiff a walk thru, it provided me with a place to secure the battery box, as well as provided the top material for the storage/seat box I built in forward.How’d you seal the hole where the cables enter the box? I’d like to make something similar, albeit smaller for my batter for my garmin on my commander?
Last edited:
thank you!drilled a 'barely big enough' hole, then shoot it with some clear silicone caulking..sealed, easy to remove, drilled a couple of small holes in the bottom just in case. When I cut out the center bench to make the micro-skiff a walk thru, it provided me with a place to secure the battery box, as well as provided the top material for the storage/seat box I built in forward. View attachment 63591
Paige
Wishing I was fishing the Sauk
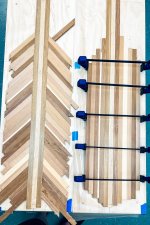
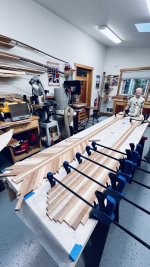
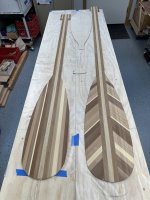
Next step in the paddle blanks: making the paddle bits that will get sandwiched by the outer handle bits. Long paddle for me, and a paddle for a normal-height guest.
View attachment 63610
View attachment 63611
Word to the wise: Herringbone may not be worth it.
What, are you 12 feet tall
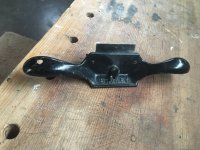
I’d like to speed up the process, and I will be doing plenty of that to shape the paddles, shafts, and handles. I’d like to cut the paddle outline into the wood strips to speed things up. But, maybe I'll stick with the almost all-hand-tools build.How about using a hand plane or a scraper.
An old Stanley No. 80 might do the trick.
View attachment 63637
Bruce Baker
Steelhead
Gorgeous canoe!
Lol. Yeah, the wide-angle on the iPhone sure exaggerates things, doesn't it?What, are you 12 feet tall

Paddle is 5'10" from tip to top of handle. The book on paddles says to measure from the floor to somewhere between chin and tip of nose, so I split the difference.
Last edited:
Thank you.Gorgeous canoe!
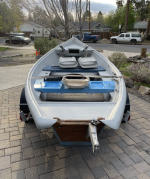
Bought a boat, so thats a start. 1982 Clackacraft. Overall in good shape. Looks like the sides where the benches mount/slide might need some work, they are a bit soft. But should be fun to learn on. Anyone have experience with older Clacks and replacing that section? The bench still feels solid, but the sides definitely are a bit on the softer side, like the core rotted.

Last edited:
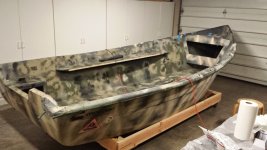
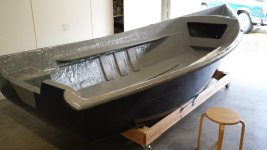
Congrats, love old Clacks, looks like a good one. Have worked on several of mine, including a Magnum hull I recontructed... the pics shows the thwarts cut back while I was converting it to a walkthrough power skiff, which required stiffening the hull once the seat braces were gone.
Holes in glass can cause delaminate from water intrusion over time so remove every screw, bolt and fitting and reseal all.
The fibreglass over ply thwarts are strongly glassed into the hull, offering plenty of support even with some bad wood, so I would not deconstruct the thwarts for any section repairs unless you are skilled with epoxy and fibreglass, and even then it would be a challenge to properly remove and replace the interior plywood.
Would suggest drying out any soft spots within thru bolt or seat pin holes then treat wth wood hardner and reseal the holes with epoxy resin.
If the wood around the factory through holes seems more rotted then comfortable with, I would slightly over drill the holes to gain a wider space to inject wood hardner into the surrounding areas, then line the oversized holes with appropriate size PTE tube sleeves, sealed in with 3M5200.
Your wood transom pads will look great with some sanding and refinishing.
Feel free to message with any questions.


Last edited:


